Tutorial ©Jascie April 18, 2004
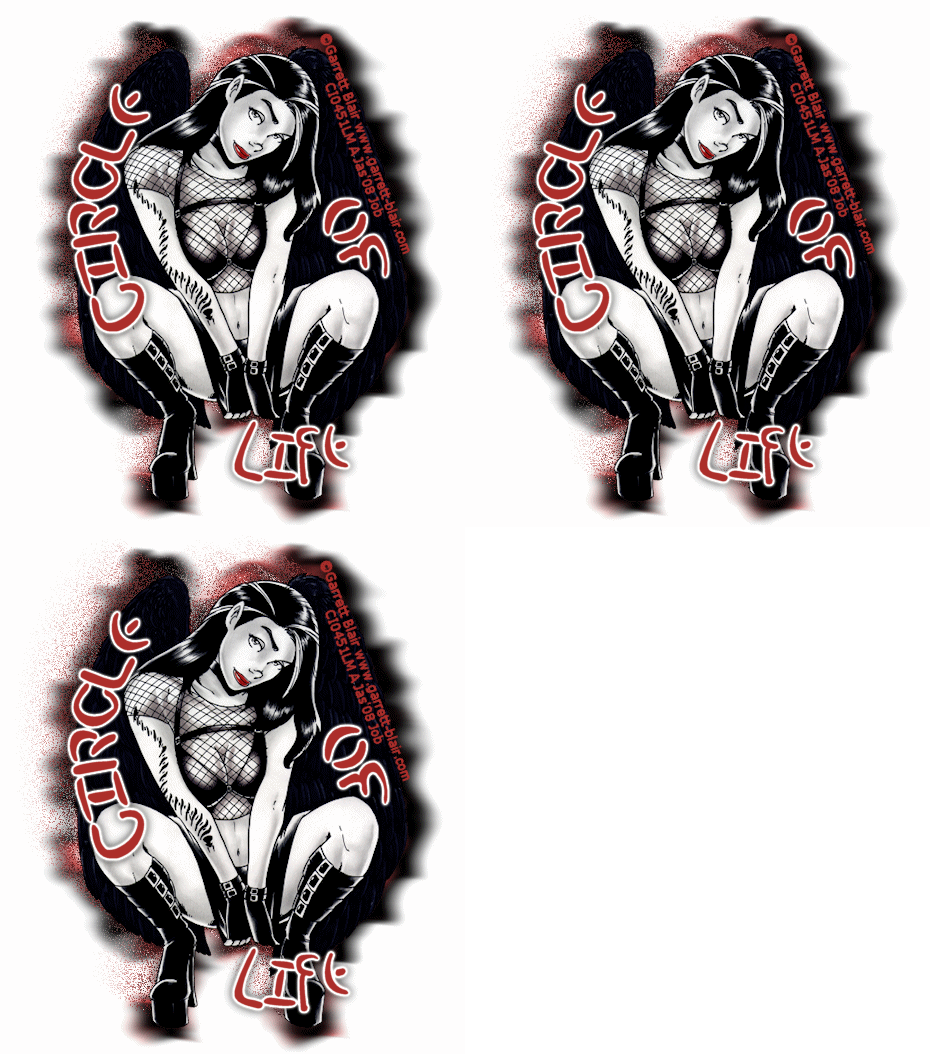
Artwork ©Garrett Blair www.garrett-blair.com
This is an example only! Do not use his artwork without proper licensing!
Please visit Creative Design Outlet for information on puchasing his artwork.
............................................................
Things you will need for this tutorial:
Paint Shop Pro
Animation Shop
Plugin Filters: VM Natural - Speed and VM Distortion - Smpox
Tube of choice
Font of choice
............................................................
Open your PSP and AS, minimize AS for now.
In PSP, open a new image 550 x 550, with a tranparent or white bacground (I am using the white background in the example).
Go to your layers palette and rename background.
Open up your tube, copy, go to your new image and paste as new layer.
Resize if needed by 90%.
Duplicate this layer 4 times.
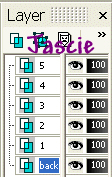
Once done this you may want to rename your layers from 1-5 like this:

Click on Layer 1:
Go to Image/ Resize/ Percentage 110%(make sure Resize all layers is not checked).
Go to Effects/ Blur/ Motion Blur and use these settings:
60 degrees at 40% strength.
Go to Vm Distortion/ Small Pox and use the preset settings.
Go back to Effects/ Blur/ Motion Blur and use these settings:
270 degrees at 40% strength.
Once done go to Adjust/ Hue and Saturation/ Colorize and color your layer to a color of your choice.
Click on Layer 2:
Go to Color Pallete and set background to white and foreground at color used in layer 5.
Go to VM Natural/ Speed and use these settings:
Direction 152 - Speed 41 - Gap 31
Go to Adjust/ Hue and Saturation/ Colorize and use the same settings as in previous layer.
Click on Layer 3:
Go to VM Natural/ Speed and use these settings:
Direction 152 - Speed 51 - Gap 31
Go to Adjust/ Hue and Saturation/ Colorize and use the same settings as in previous layer.
Cick on Layer 4:
Go to VM Natural/ Speed and use these settings:
Direction 152 - Speed 61 - Gap 31
Go to Adjust/ Hue and Saturation/ Colorize and use the same settings as in pevious layer.
Click on Layer 5:
You can colorize this layer if you like(I left mine alone). Add your water mark, and proper license info.
Now you can add your text. Use two colors from your image.
Go to Layer/ Convert to Raster Layer.
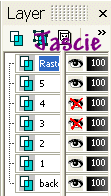
Go to your Layers pallete and where you see the glasses click on layers 3 & 4, make sure there are red x's on the glasses and the raster layer is highlighted as so:

Go to your image right click Copy Merged.
Maximize AS. Right click anywhere on blank canvas, click Paste/ Paste as New Animation. Minimize AS.
Back in PSP, go back to your Layers pallete, click on Layer 2's glasses, make sure there is a red x there. Now go to Layer 3's glasses and click there, the red x should disappear. Still make sure raster layer is highlighted.
Go to your image right click Copy Merged.
Maximize AS. Right click on image and click Paste/ Paste After Current Frame. Minimize AS.
Back in PSP, go back to your Layers pallete, click on Layer 3's glasses, make sure there is a red x there. Now go to Layer 4's glasses and click there, the red x should disappear. Still make sure raster layer is highlighted.
Go to your image right click Copy Merged.
Maximize AS. Right click on image and click Paste/ Paste After Current Frame.
Once you do this go to Animation/ Frame Properties and set at 20.
Once done this go to View/ Animation, and make sure the animation is working the way you want it.
Now Save it!
Ta Da! You're Done!
............................................................
Feel free to text link only or print out for own personal use. But do not copy it in anyway to put online, pass out, use for profit or rewrite without my permission.