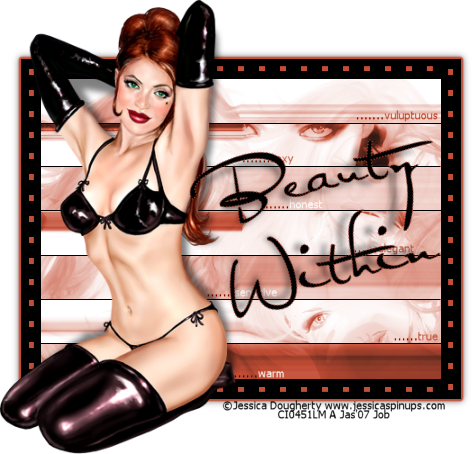
Tutorial ©Jascie July 11, 2007
Artwork ©Jessica Dougherty www.jessicaspinups.com
This is an example only! Do not use her artwork without proper licensing!
Please visit Creative Design Outlet for information on purchasing her artwork.
............................................................
Things you will need:
Paint Shop Pro
Tube of choice
3 or 4 Tubes/Images(same artist)
2 Fonts of choice
Virtual Photographer Plugin Filter
DSB Flux Plugin Filter
Eye Candy 4000(Optional)
............................................................
Save the filters to your psp plugins folder.
In your PSP, open a new image 400 x 300, your main tube, as well as your 3 or 4 tubes/images.
Copy and paste each one of the extra tubes/images as new layers into your new image positioning them to desire but so that the canvas is completely full.
Close the tubes/images you just used.
Now go image add borders, and add a black symetrical border of 20.
Go selections - select all, then selections - modify - contract - by 20.
In your layers palette, promote the background layer to a raster layer.
Go adjust - hue and saturation - colorize and colorize this to a color from your main tube.
Duplicate this layer, and go effects - plugins - Virtual Photographer.
Select the preset - Halo.
Go effects - plugins - DSB Flux - and select linear transmission with these settings:
![]()
In your layers palette set the blend mode of this layer to dissolve(or setting of choice).
Merge layers visible and go selections - select none.
Go to your materials palette, set the background to null and the foreground color to a color from your tube.
Now go to your pen tool with these settings:
![]()
![]()
Click on the line style box and select custom with these settings:
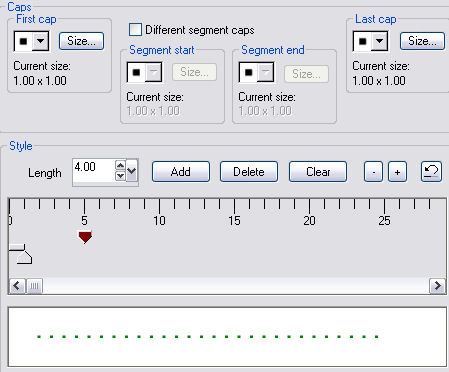
While holding down the shift button, draw out a straight horizonal line across the top border.
Convert this to a raster layer. Duplicate and then go image - flip.
Duplicate this layer, then go image - rotate and rotate 90 degrees either way, making sure the all layers is unchecked.
Place along one side of the border vertically, positioning so it matches along the horizontal lines.
With your eraser tool erase any overhangs.
Duplicate, then go image mirror.
Now merge all layers visible.
In your materials palette set the foreground to black and leave the background null.
Now go to your pen tool with these settings:
![]()
While holding down the shift button, draw out a horizontal line across one of the linear transmission edges(see header tag for reference).
Convert this to a raster layer, duplicate and move this into position over another linear transmission edge.
Repeat the duplication and placing until all edges have lines.
Merge all layers visible.
Now time to add some text. I used the font tahoma, vector at size 8, and stroke 0, with two colors from the tag depending on where i was placing.
Write out different words that associate to the tag or the person you are making for and place them in varying positions inside the frame.
Once happy, merge all layers visible.
Now go image - canvas size at set the canvas size to 600 x 600 - centered.
Add a new raster layer, move this to the botom and flood fill white.<br>Go to your frame layer.
(Optional)Go effects - plugins - Eye Candy 4000 - Gradient Glow with these settings(using a color from your tube):


Now go effects - 3D effects - drop shadow, with these settings:
H & V= 0 Opacity= 50, Blur= 10, Color= Black, and shadow on new layer= checked.
Go to the top layer, then go to your main tube.
Copy and paste it as a new layer in your new image.
Resize and position to your desire.
Add the same drop shadow as above.
While still on the tube drop shadow layer, go image - resize. Resize it to 90% making sure all layers is unchecked.
Now go to your top layer, and add your main text, I used a setting of vector, size of 48, stroke of 1.
Apply the same drop shadow as above.
Resize this drop shadow as well.
Go to your top layer once again and add any copyrights, license numbers etc. needed. Go to your bottom white layer, and hide it.
Go to your crop tool, click on the merged opaque button, then click the checkmark.
Unhide your white bottom layer.
Now Save it!
Ta Da! You're Done!
............................................................
Feel free to text link only or print out for own personal use. But do not copy it in anyway to put online, pass out, use for profit or rewrite without my permission.